Copy files
Copying files is useful and helpful for certain scenarios. Here you will find the description and one typical use case.
Copy file always makes sense if a Photoshop file is to be used repeatedly with minor changes.
One Example: Use of module templates for the web. A copy (template) is made of the original module template so that all resulting files are linked to your this newly created file and not to the original module template.
The main advantages of this procedure:
- No need to download and re-upload the Photoshop files, instead a new version of the existing file is created here.
- The new version has the same asset ID.
- Metadata that has already been maintained is transferred.
Copy files
How to create a copy from a master file in order to use it as a template
Existing PSD master files are often used to simplify work processes, especially for small changes, e.g. for newsletters.
The linking of source files with resulting files would, however, lead to large numbers of links, which would be confusing and useless.
Therefore, for such purposes, it makes sense to create a template from the existing file, like a neutral copy.
To create a copy of a file, do the following:
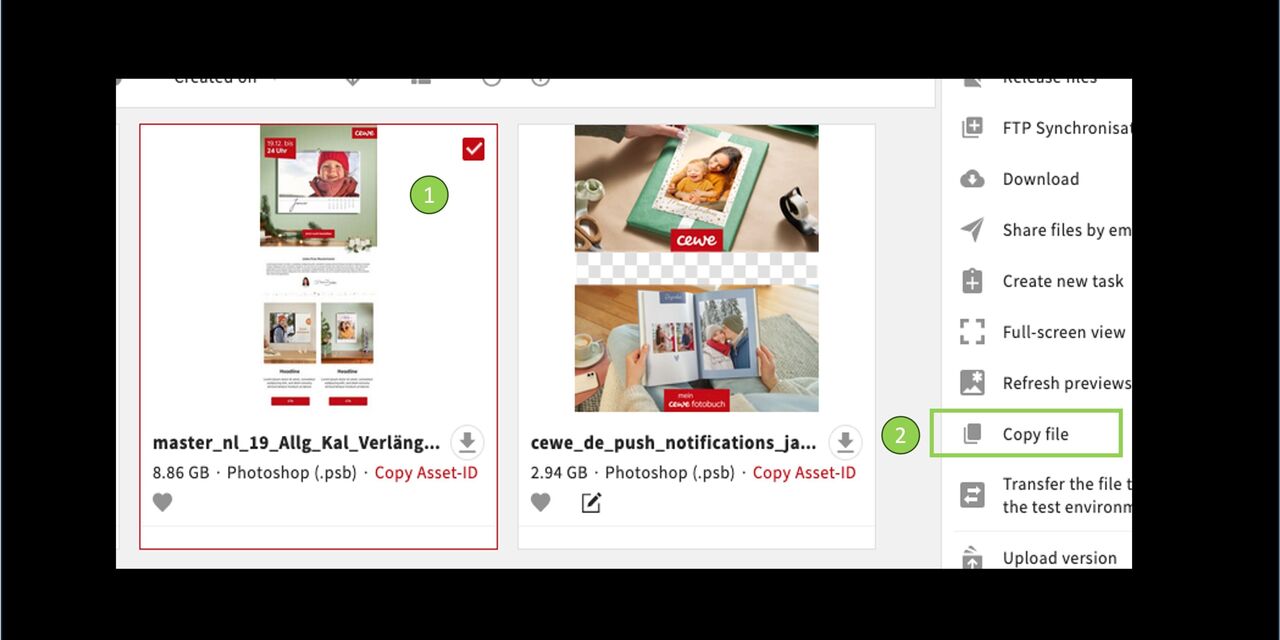
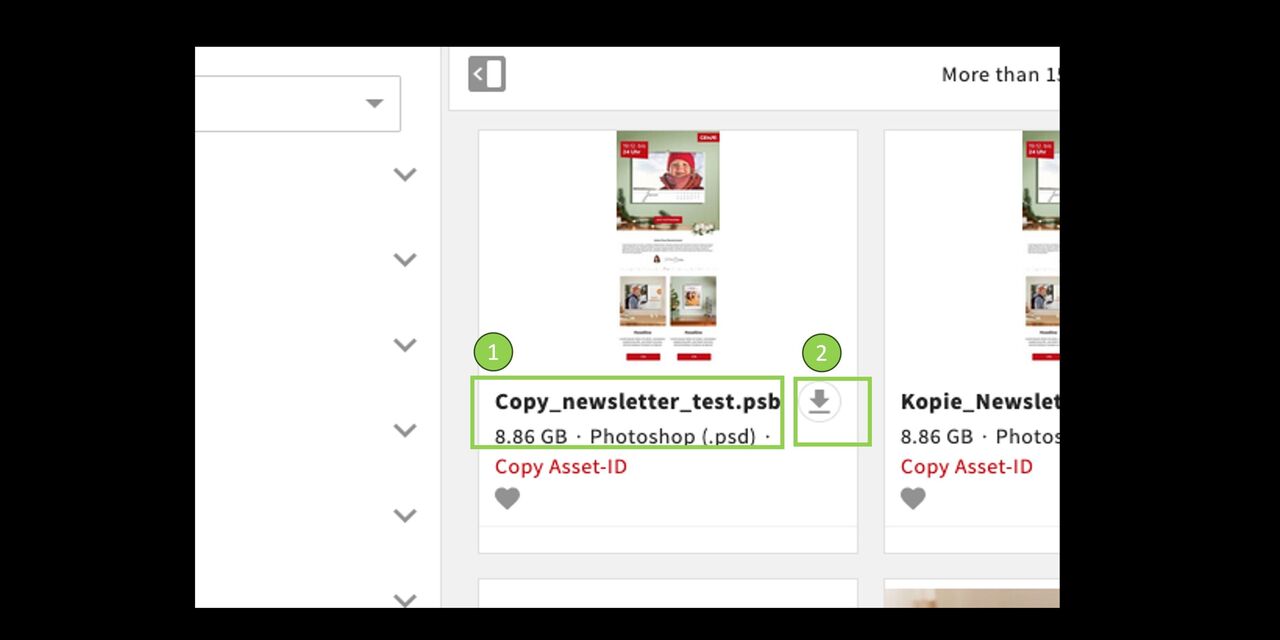
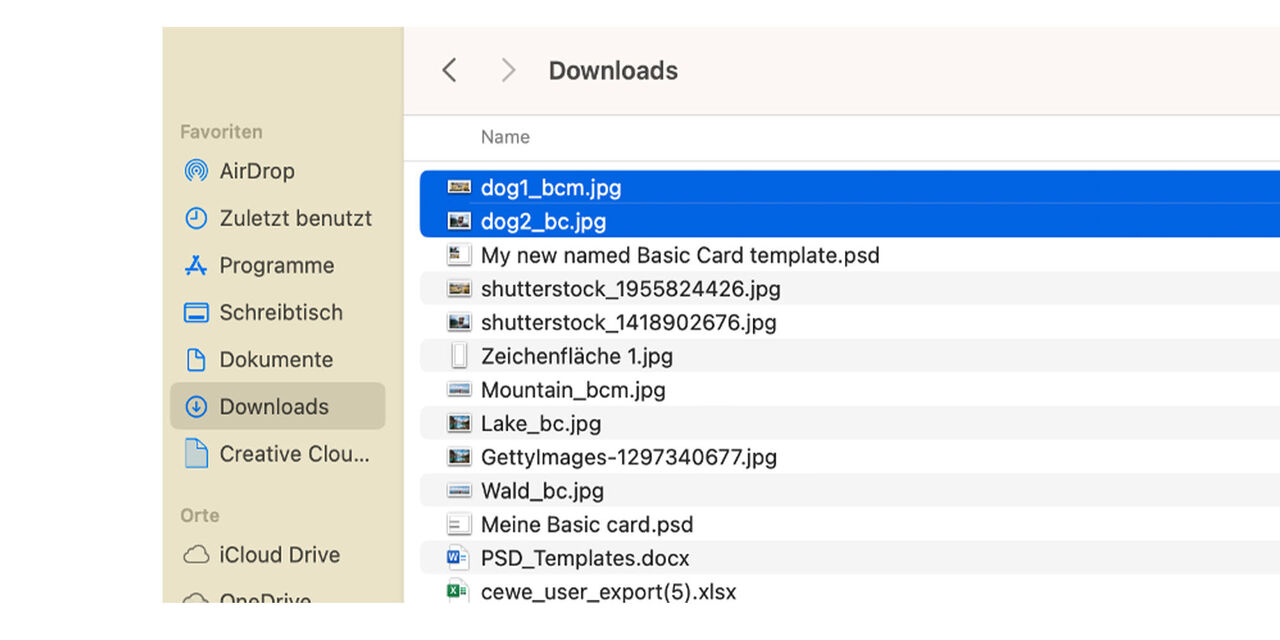
Mark the file you want to use as a template
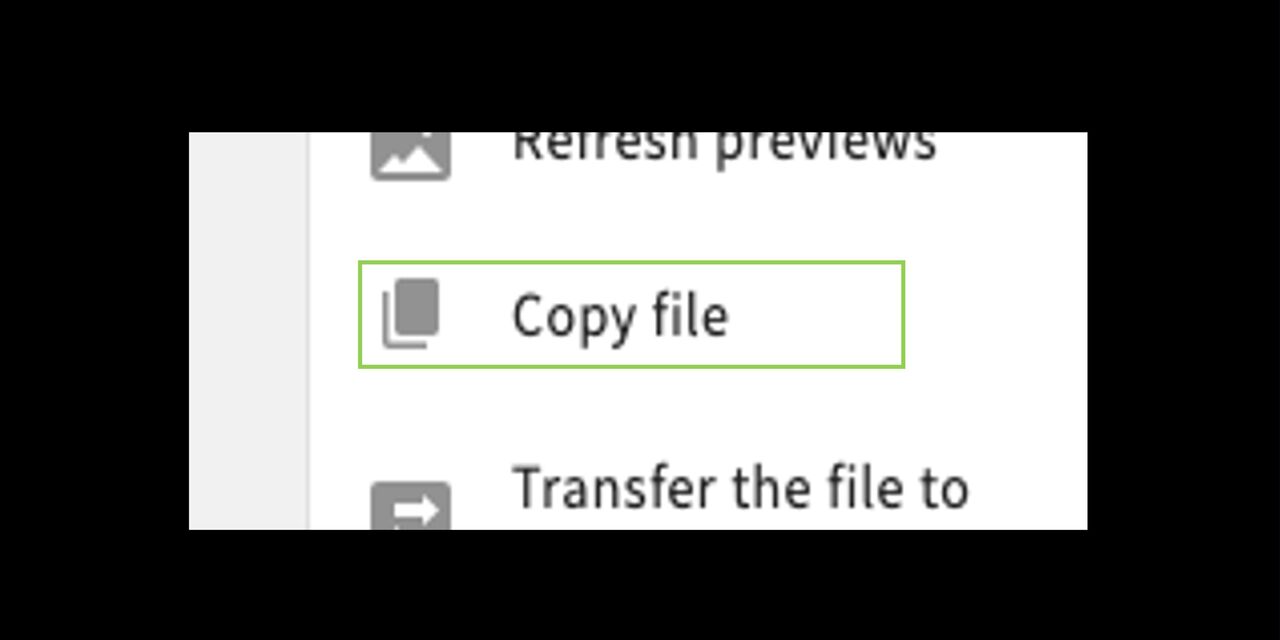
Go to Copy file
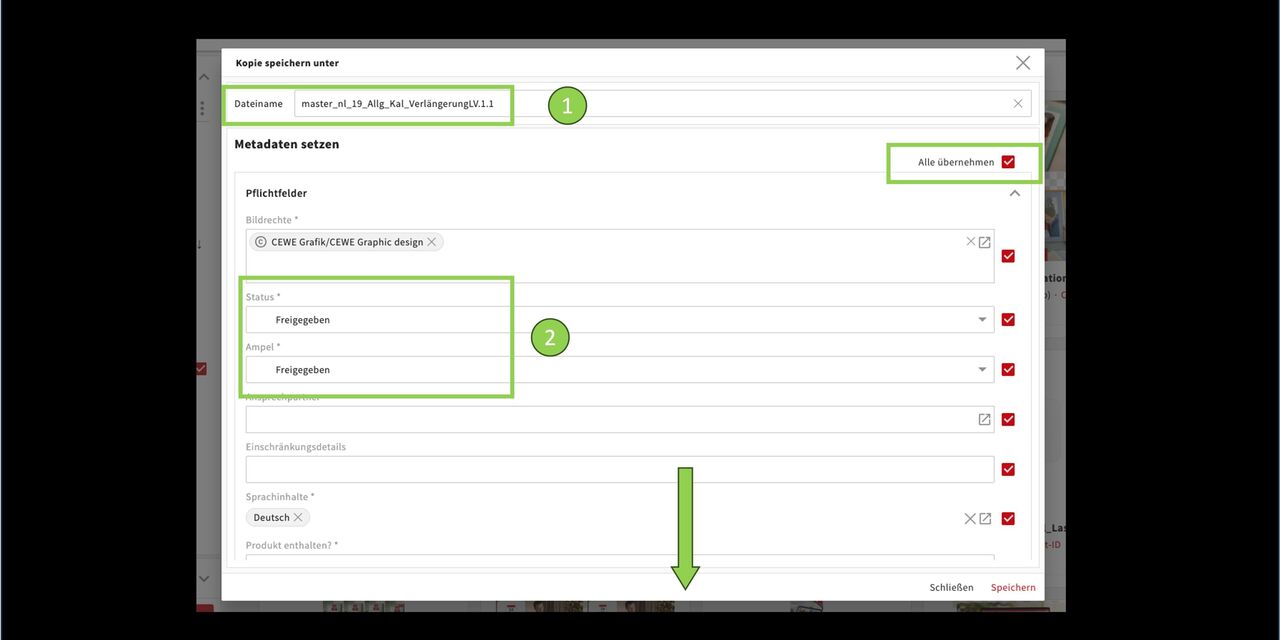
In the next step, name and metadata are added:
- The system automatically creates the file name (copy of name plus number 1). Insert a new name now.
Then you set the metadata. You can accept all of them or replace and/or add individual ones.
- In this example, status and traffic light are included
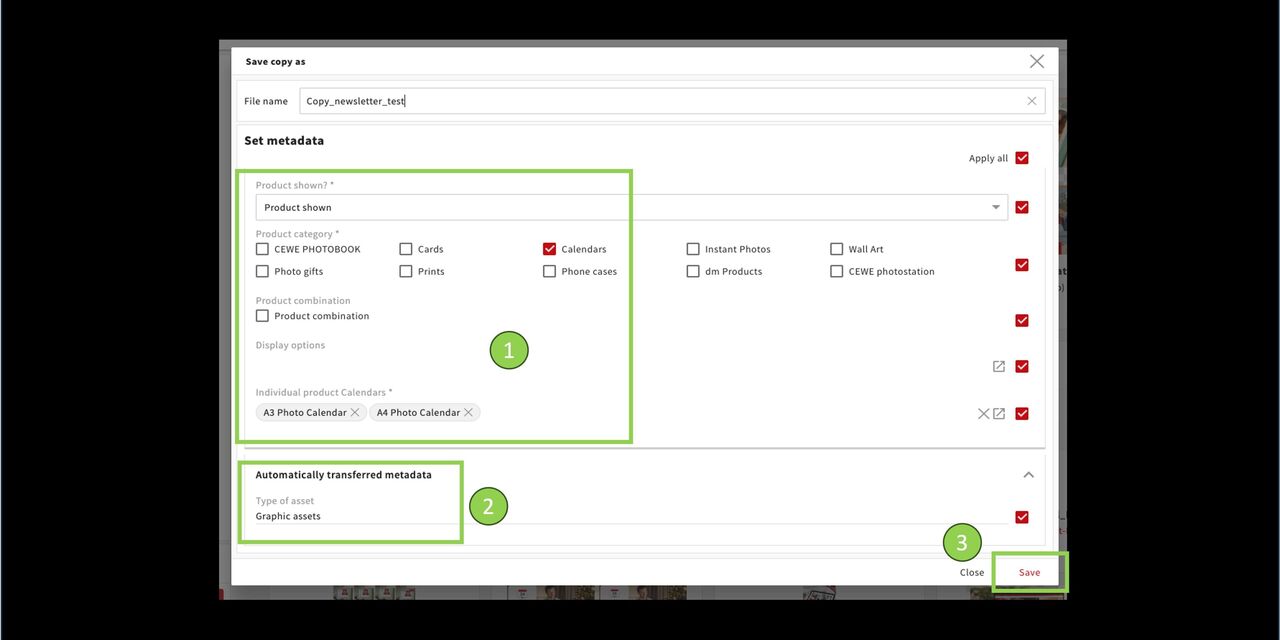
Further below you will see the product-related metadata
and Automatically transferred metadata.
Save
In CEWE MediaAssets, click on Search again.
Your new file will appear with a new name.
Now you can download it to edit it further.
The file opens automatically in Photoshop. Make your changes and then simply upload a new version of the file.
Example: Procedure when using web module templates
For web cuts we have our module templates. Due to the new linking process, we now also need a separate template for each such case.
The following procedure can be used for other PSDs as well.
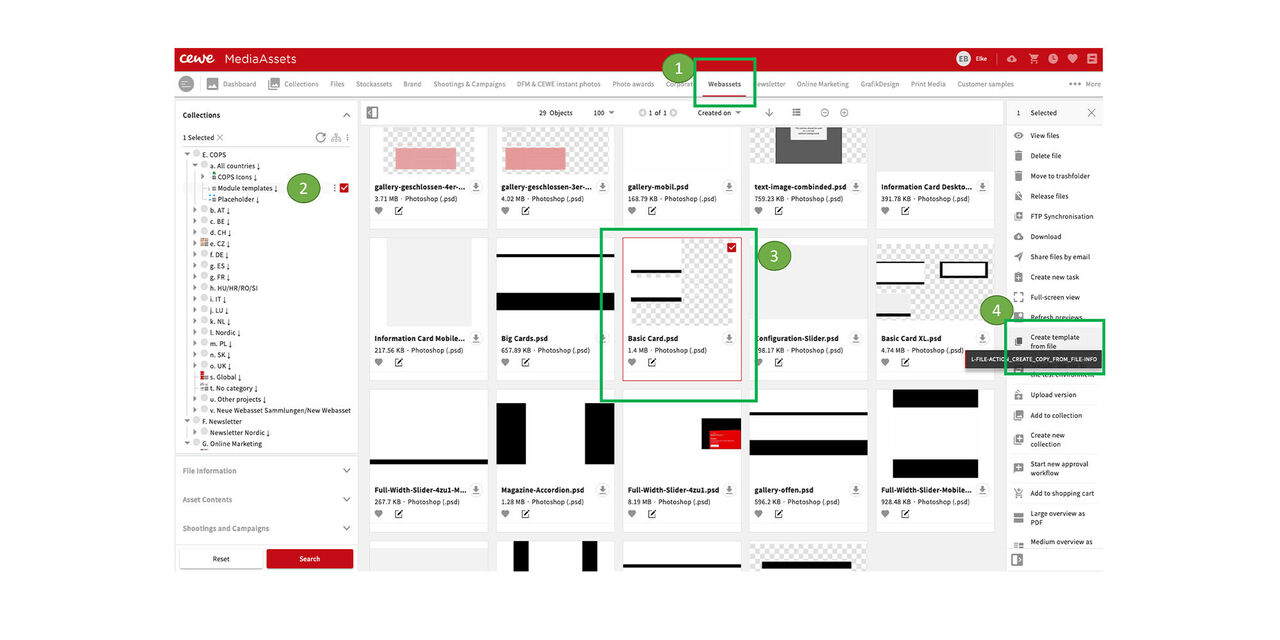
In the
- Webassets
- under Modultemplates
- select the needed module template
- and create a template out of it
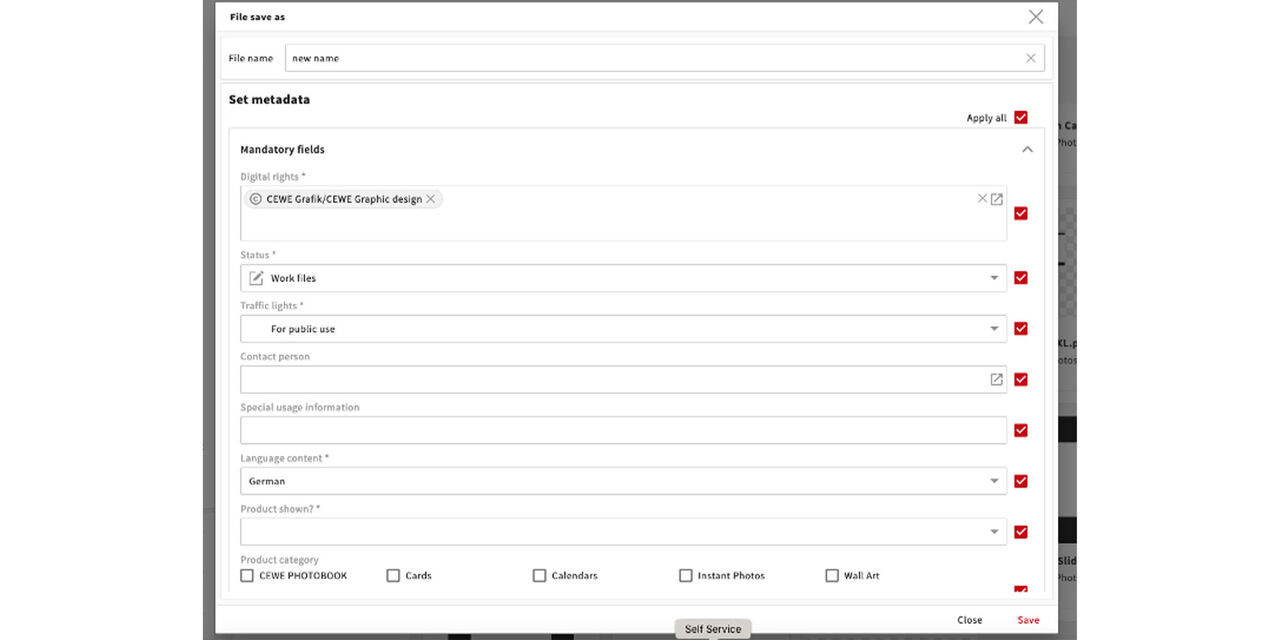
- In the pop-up we assign a new name to the new template.
- Then we add or edit the metadata where appropriate.
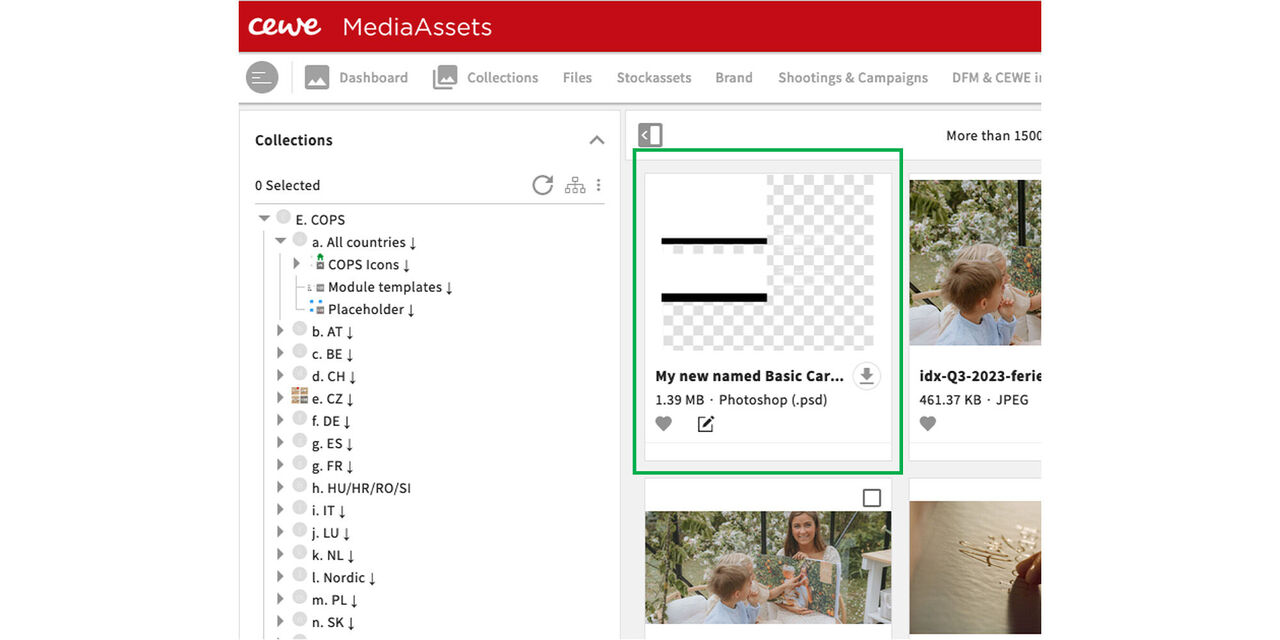
The new file appears at the top of the webassets
Maybe it is necessary to remove the selection from the module templates to see it.

Now we download the new file.
Further processing is as usual:
Place the smart objects and export them via the CEWE plugin.
Now, as usual, we must upload our exported smart objects to the relevant collection in the system.
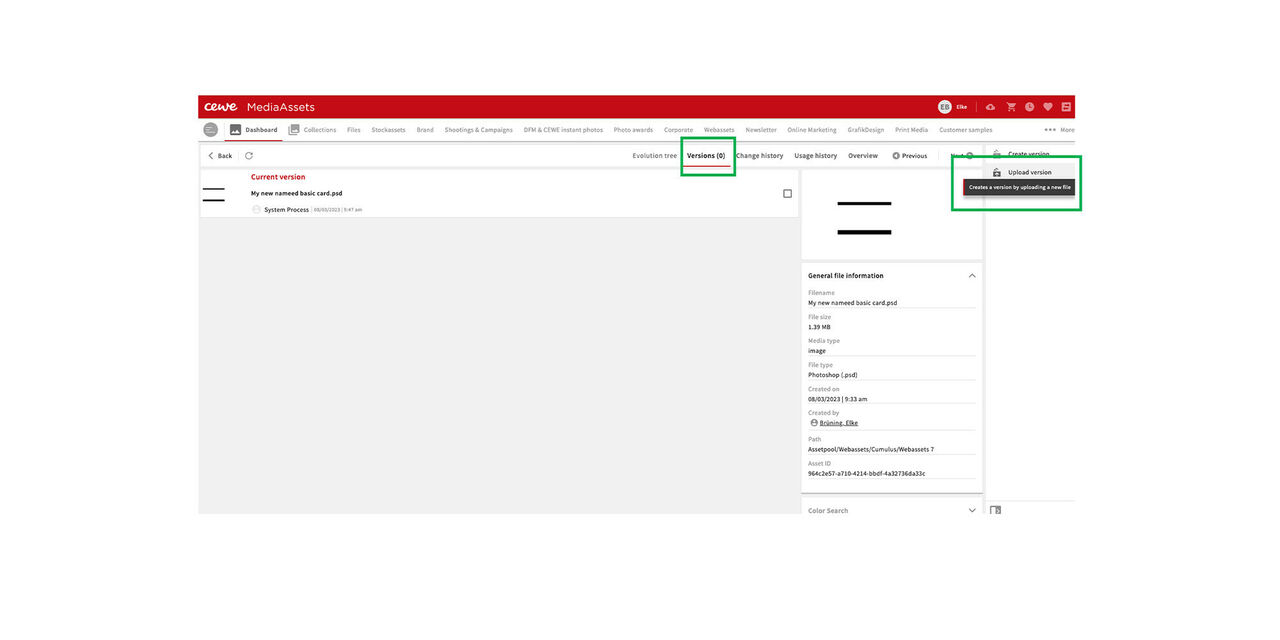
Now we display the new PDS in MediaAssets.
- We go to Versions.
- Then we go to Upload version.
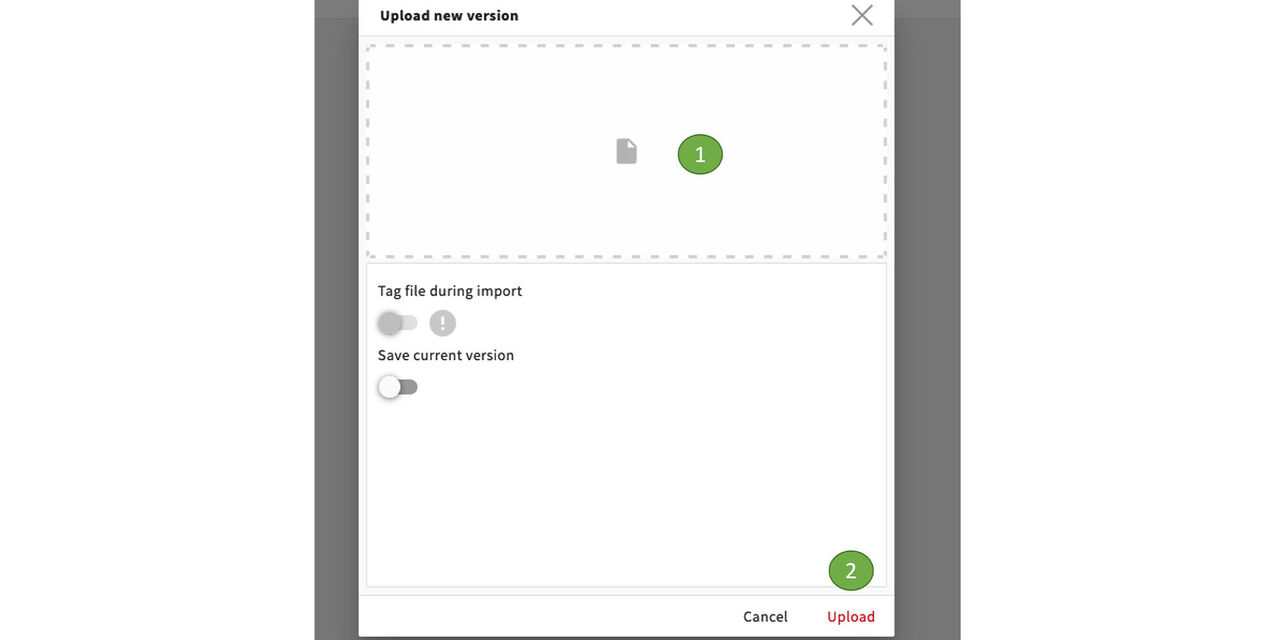
We replace the old version by uploading the new PSD from our PC here. The name is kept and the metadata are already there.

As one result the new PSD file is linked to the export files.
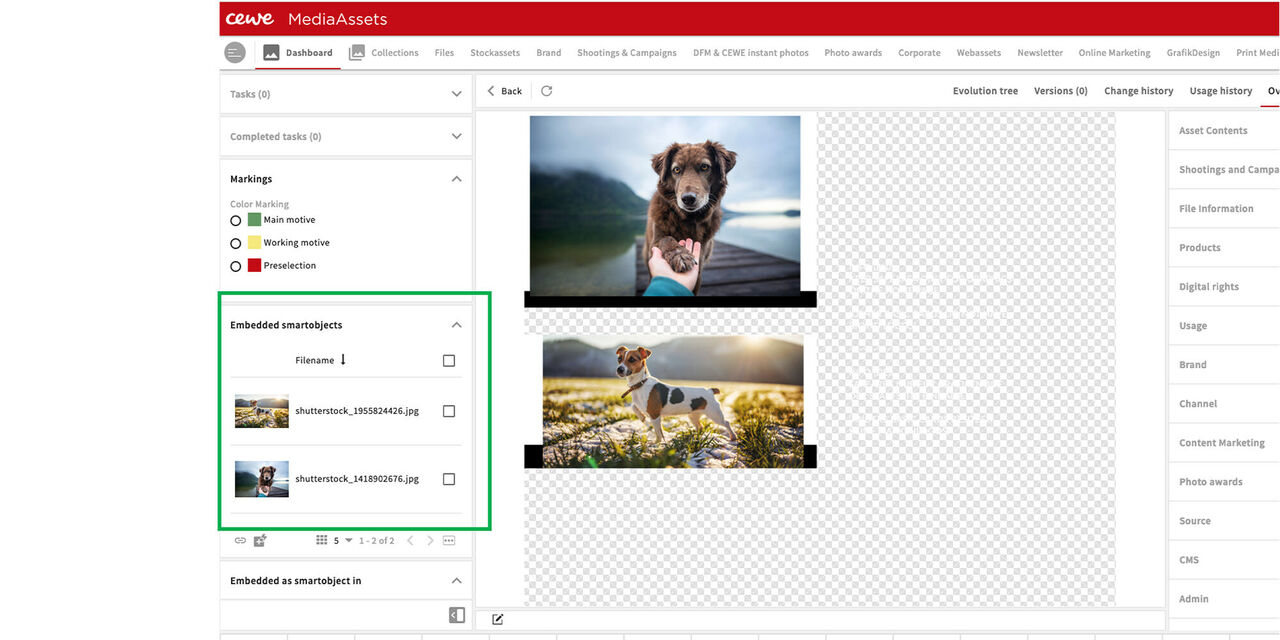
As a second result the PSD contains the embedded smart objects.
From the Getty image we find the PSDs it was used in and from there the web cuts that were created.
You will find the corresponding PSD from the web cuts and the stock images used there.